Tuesday 10 December 2013

GRAPHICS PATHWAY - STREET FOOD BRANDING PROJECT

I picked the street food branding project initially because I thought it had the most potential in terms of where I could take the project and the number of possible outcomes I could have. I personally enjoy street food and visiting different street food markets therefore I was already interested in the topic. In addition, the prospect of picking my own style and type of food was inviting. We had two weeks to complete the project which gave us time to research thoroughly and tweak ideas throughout the project. I firstly brainstormed a number of ideas, foods and cultures that I wanted to follow regarding my own background. I went for exotic, tropical Caribbean food classic such as Jerk Chicken, Curry Goat and other stereotypical Caribbean dishes. However on second thought, after having done a bit of research I realised that there are already a lot of Caribbean street food outlets so I thought I would go for a slightly different type of cuisine. That's when I opted for creole cuisine which is inspired by Caribbean flavours and spices but also has influences from Spain, France and resides in Louisiana, USA. For this reason I thought I could raise awareness of this vibrant and exotic cuisine because there is a 'gap' in the market for this type of cuisine.


I started to then think of some names and colours that I wanted to use in my brand. I came up with Colourful Foods, Caribbean Taste, Creole Culture and Creole Cuisine. For a large portion of the project I stuck with Colourful Foods because I believed it suited the vibrant nature of the food itself as well as the national flags of where the food comes from. However, I changed my brand name several times throughout the project just through a lack of direction and feedback from tutors which influenced my decisions.


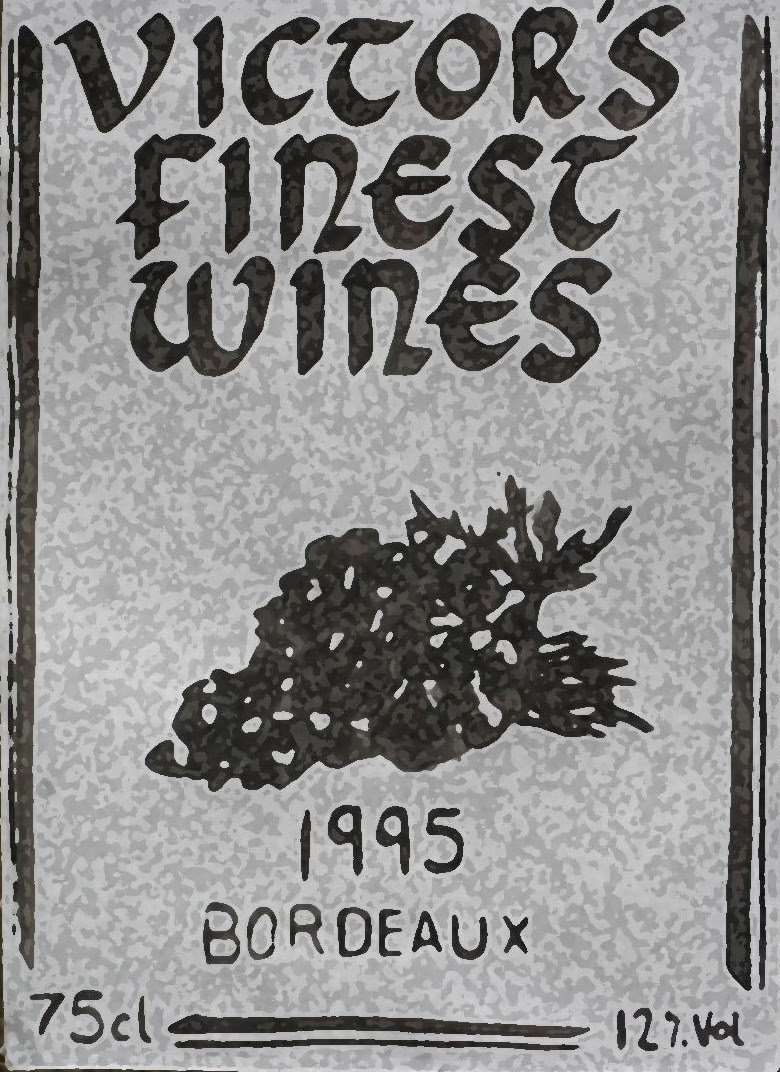
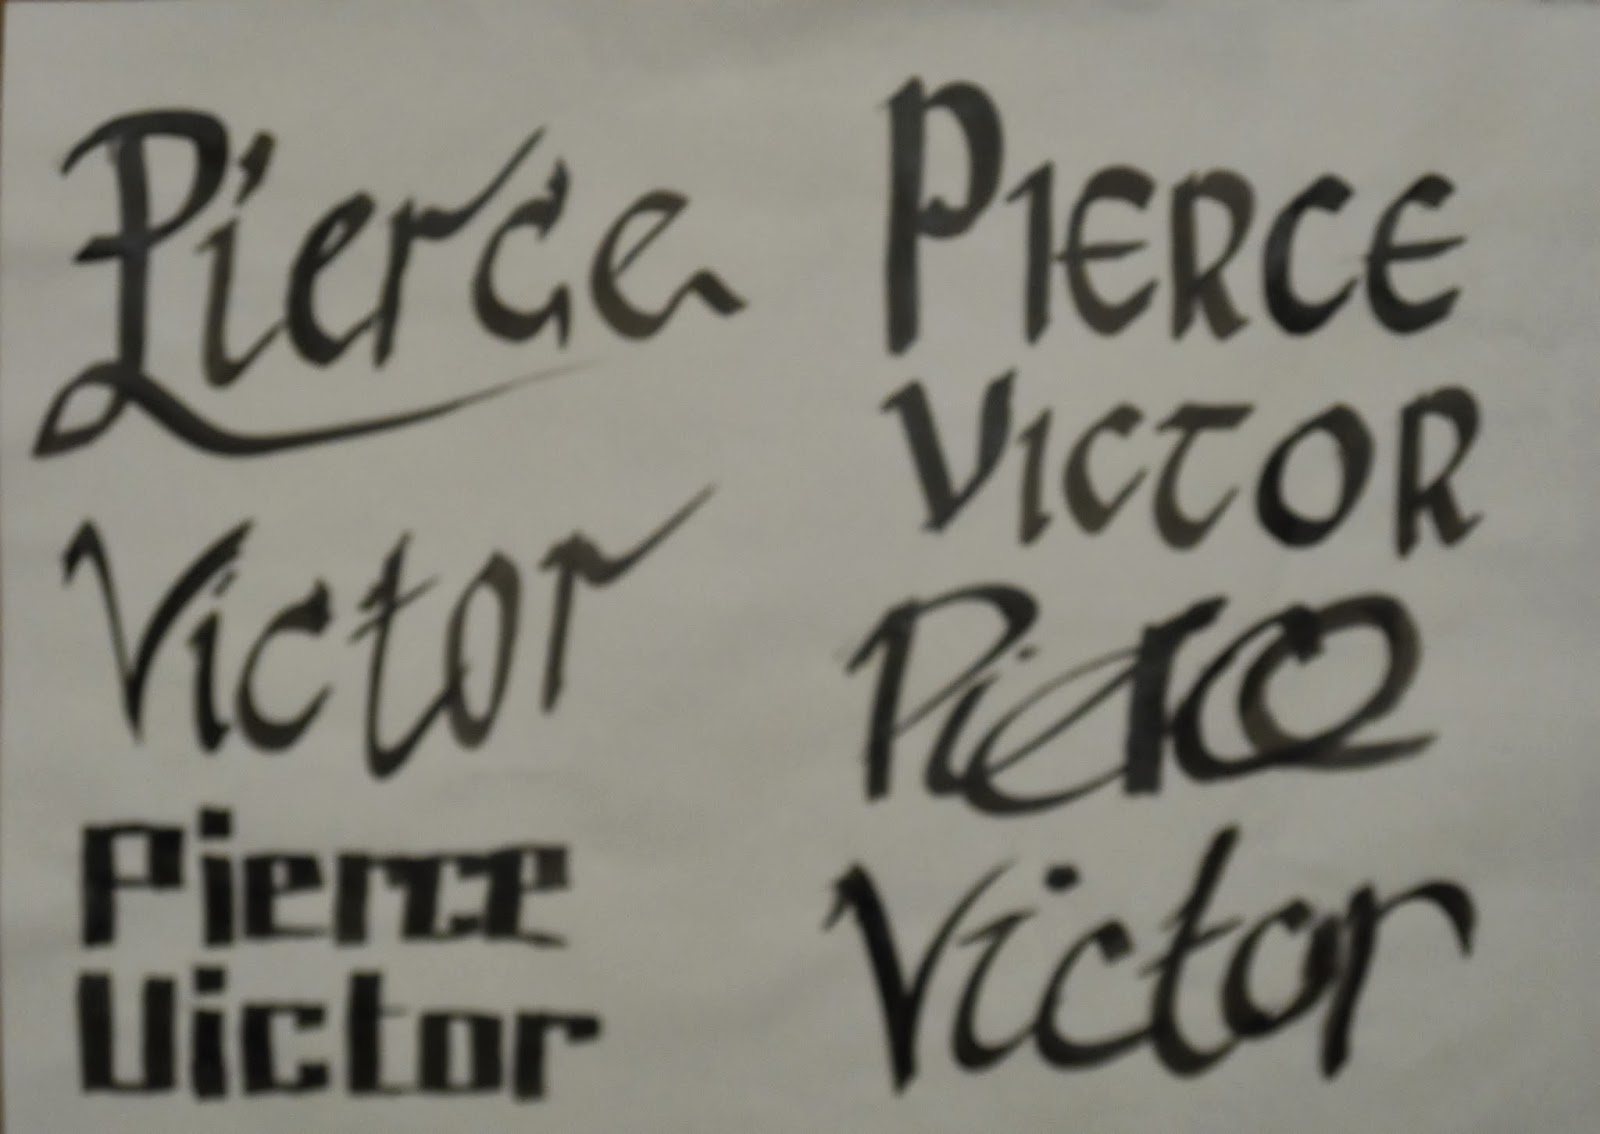
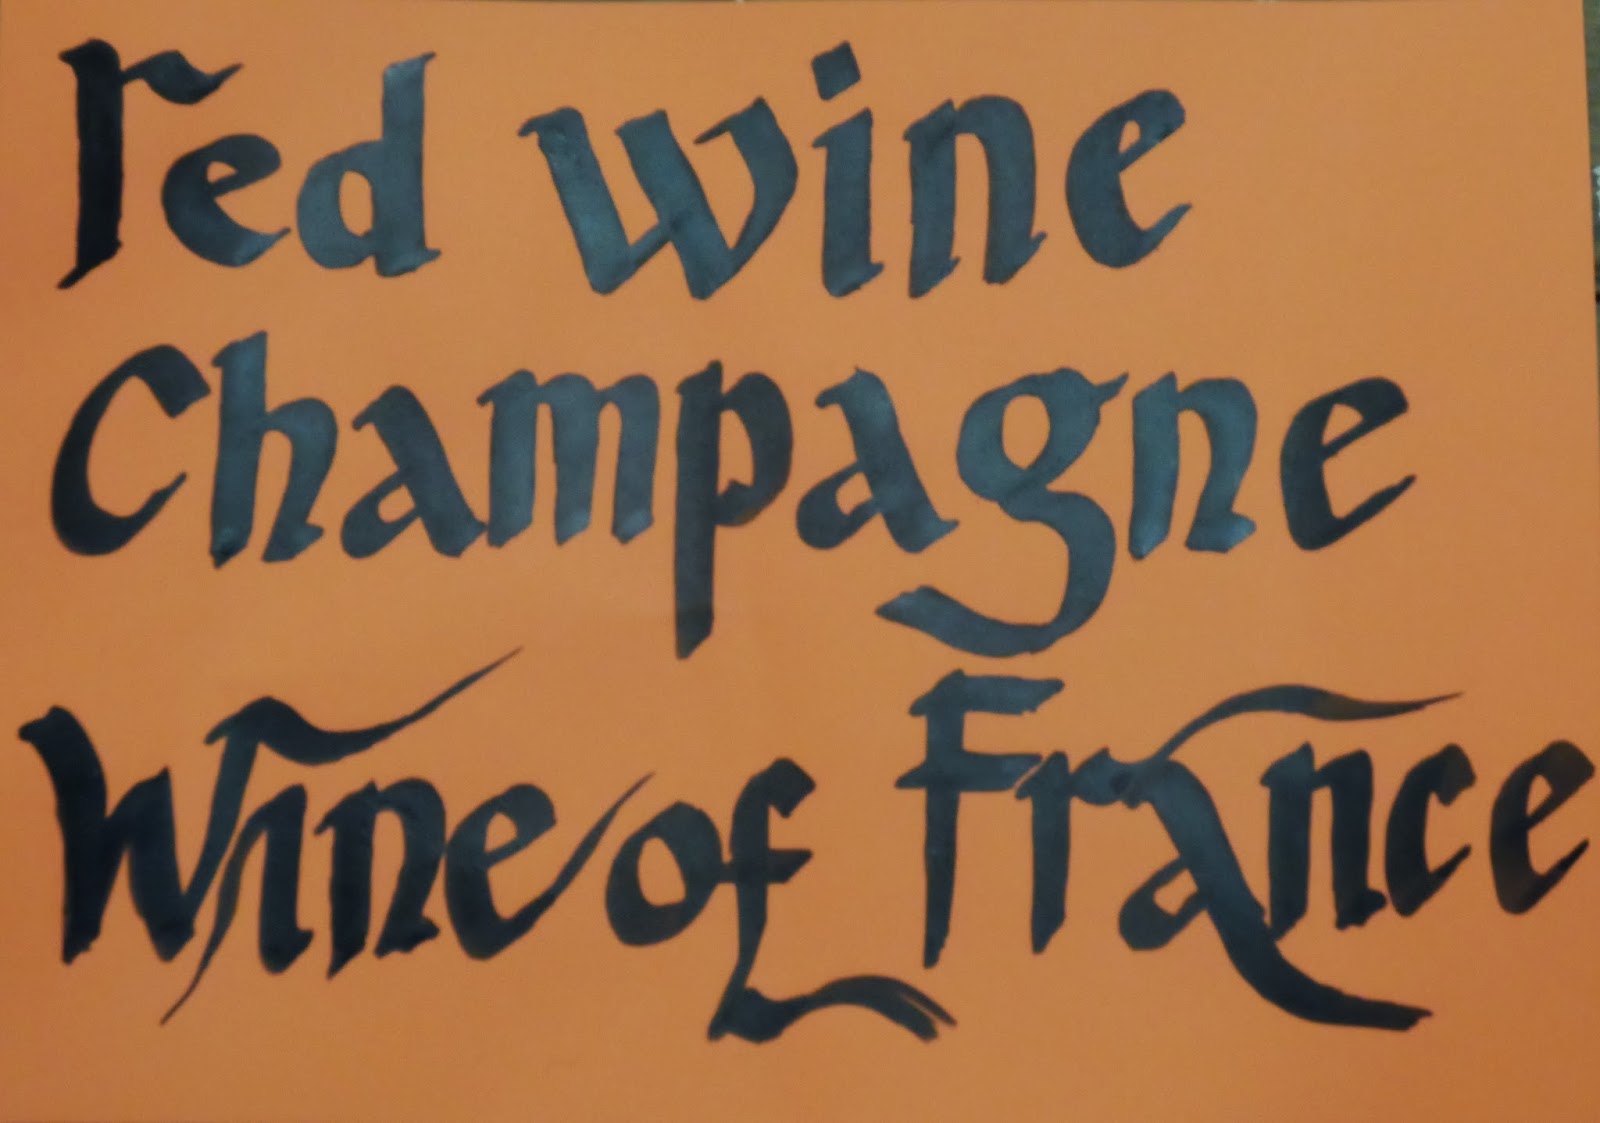
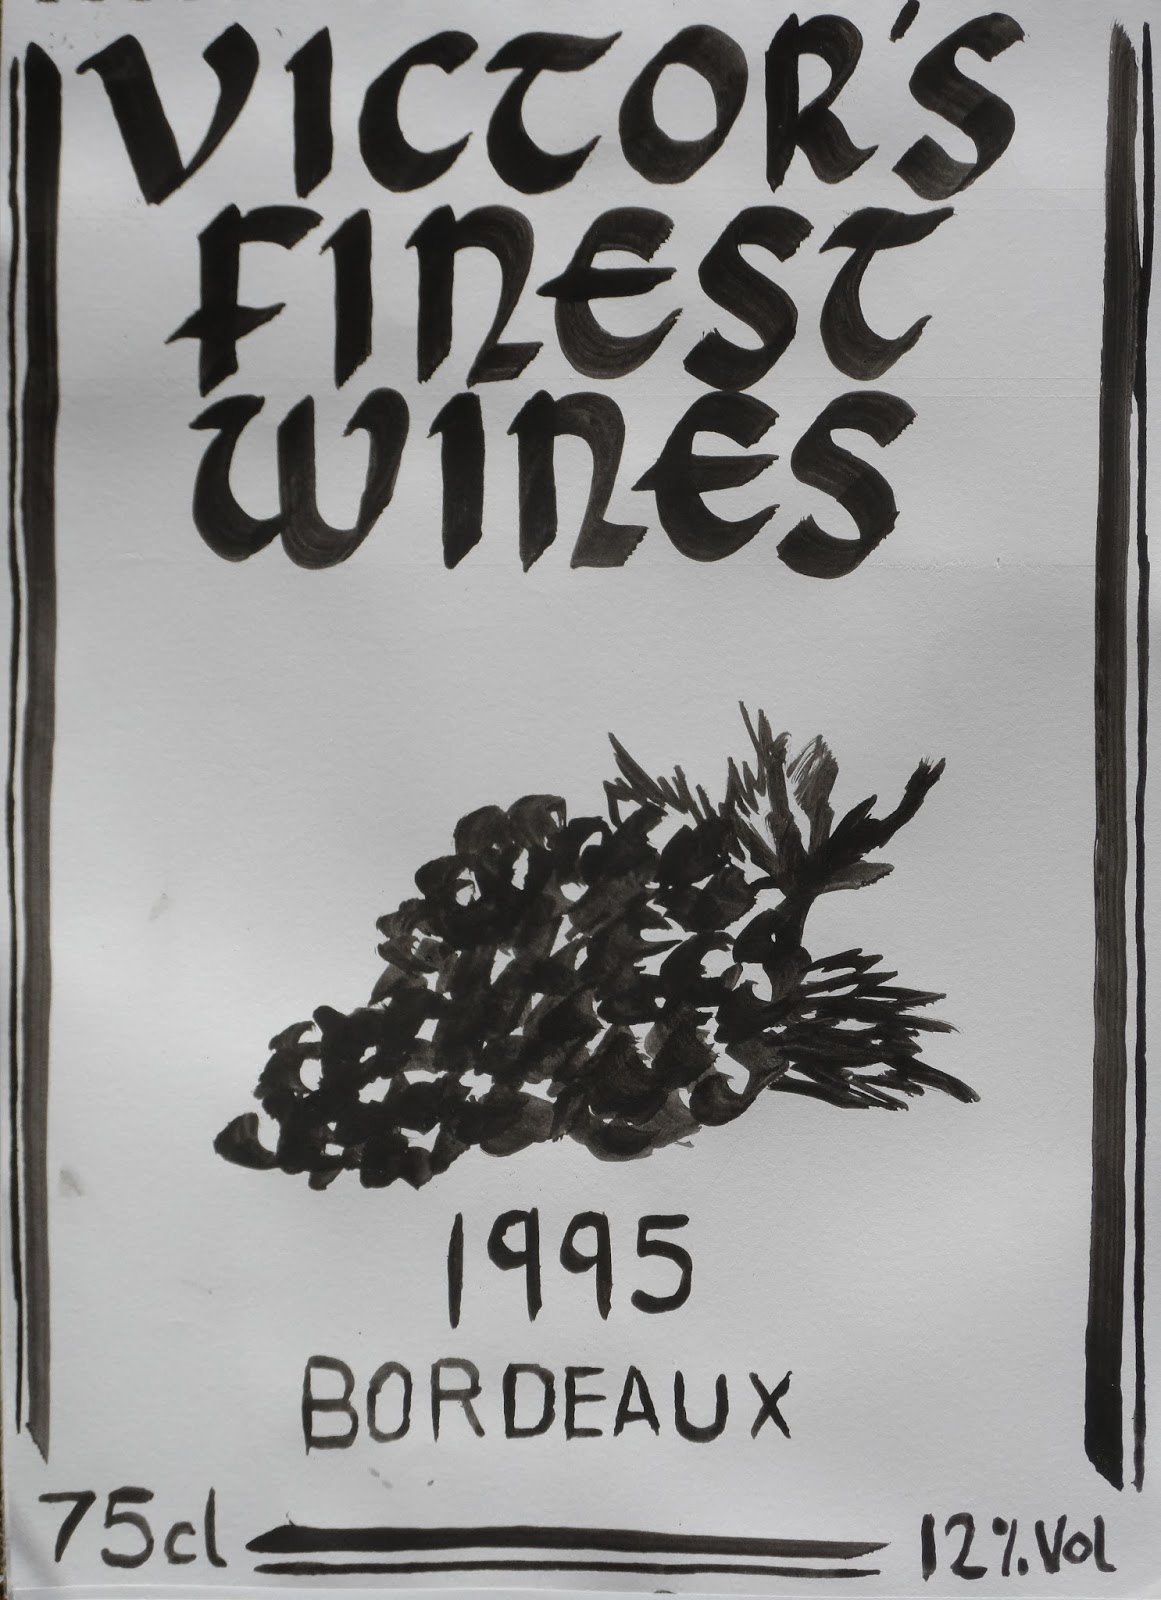
At this stage of the project, I decided to use Creole Cuisine and experimented with
type, layouts and trialed different logos that I would possibly use. For this I used
illustrator mostly and gained inspiration for typefaces using 'Dafont'. I wanted to mix
upper case with lower case lettering as I found this had a unique effect. I initially used
different present fonts on illustrator which were good but I preferred drawing out the
lettering myself as it had a 
more natural feel. I was also told at the end of the project that
the handwritten fonts were much more appealing than some of the manufactured
typefaces which, on reflection, I agree with.

To supplement the project and broaden our knowledge, we were asked to pick a
 popular contemporary brand and research it to find out what makes the branding
successful in terms of the logo, colouring etc. I choose to focus on the brand 'Adidas'
as I have long been interested in the three stripes and the logo itself. I broke down some
of the essential building blocks of the brand such as the stripes and the text to determine
what makes it stand out. In my view the logo is one of the most instantly recognisable
which I think is the sign of good branding.


Following this I moved on to my own branding and experimented a bit more with the handmade fonts on Illustrator using 'Creole Cuisine' as the title. To do this I used the shape draw tool Illustrator which makes a shape out of what you draw therefore its easier to colour and outline shapes. I choose to follow the upper and lower case combination with various letters mixed up for example, cReoLE CUisINe. I then tried applying the logo to various coloured t-shirts to see how it worked. After the project in the crit session I was told that this design worked the best because it appeared natural and handmade. I think in the future I will use this technique more because I find its more rewarding than using existing fonts and its much more personal as its crafted by the user.


After getting some feedback during the project from my tutors, I thought that the title 'Creole cuisine' was maybe too vague and also after the visit to Whitecross street food market I discovered most stands only sold one signature dish rather than a collection of dishes which was what I was intending to do. This is purely because its more practical. Therefore I selected one dish that is most commonly associated with Creole foods which is a dish called 'Jambalaya'. Similar to a spanish paella this can be cooked on a large scale in one big pan suitable for a street market. Consequently, I re-thought my brand name and called it 'Jambalaya'. I then began to research the dish and find some fonts that best portray the dish and the culture. 


Once I had found a typeface that I liked and which fitted the brand identity, we had to make an A2 poster/sheet that was effectively an at-a-glance guide to our brand. I made this below on Illustrator highlighting colour ways with CMYK values, application of the brand onto t-shirts etc, some background information and a few images. We also had to create our brand guidelines including typefaces used, how to apply the brand and kerning values. This I have not completed as yet. Overall, I thought this was a successful project but also the most challenging project I have done yet because of the quantity of work needed to create a brand. Naively, I thought that a brand was maybe just a logo with some other elements but in reality, a brand is a lot more and it takes thorough planning and research to create a successful appearance. I like the appearance of my own brand however there could be room for improvement and revisiting of previous designs as my crit group preferred some of my earlier logo designs. I was also impressed by the work of my peers. In conclusion, it was a meaty project with a lot to get into and retrospectively, I could have done with an extra week.


Images  - Author's Own 06/12/13

Sunday 1 December 2013

VISIT TO THE BARBICAN - POP ART DESIGN EXHIBITION

The purpose of today's visit to the Barbican Art Gallery was to supplement our research for our street food brands created earlier on in the week. As pop art features heavily in different aspects of graphic design and branding in general, we visited the Pop Art Design exhibition which featured work from Andy Warhol, Roy Lichtenstein amoungst many others of that post war period in the USA. Not only was there successful branding in the exhibition, there was clearly evidence of successful way finding and branding throughout the Barbican's interior. It utilises an orange theme throughout their space which really stands out with the Futura typeface making navigating the Barbican very easy. This gave us all an idea of how to make our branding consistent across all medias. I was also quite surprised at the variety on offer at the Barbican as I had never been before. The buildings and architecture are one of a kind in their concrete nature, there is a greenhouse, cinemas, theaters and overall great places to work creatively in. 


The Pop Art Design exhibition itself was very good in my view as it displayed a large amount of work that I felt was relevant to me and my own style with bold colours and clear statements. I enjoyed studying original merchandise and packaging designs from that era. There was also a pop art film which was higlighted different forms of media inspired by pop art such as the traditional Chevrolet adverts and the title sequence for Ian Fleming's 'From Russia With Love'. In addition there were many posters from the 20th century culture such as the 1986 Olympic games in Mexico and subway maps in New York which I thought was interesting.


A few sketches and artist names I recorded whilst in the exhibition
Some street art around Whitecross market

Following our tour of the exhibition and the Barbican space, we went to Whitecross market offering us a collection of street foods from around the world. This was frankly an overwhelming experience because of the amount of great aromas in the air and delicious food displayed. However the aim of this experience was to gain some inspiration and expertise from real street food brands in order to inform our own design process. This I feel did help me and I now have a idea of what successful branding looks like and how it functions in the real world. In conclusion I thought today's trip was extremely beneficial to our current project and in general because of the variety of things we experienced. The Pop Art Design exhibiton, touring the Barbican space and visiting the street market were all varied experiences and the fact did this in a day was great because we got a little taste of everything on offer in and around the Barbican.


Images - Author's Own 29/11/13

Sunday 24 November 2013

GRAPHICS PATHWAY - COLOUR & ILLUSTRATION

The aim of today's task was to gain a greater appreciation of colour, how to make different colours and how to use them. We began the day creating a 12 segmented colour wheel of primary (red, blue, yellow) and secondary (green, orange, purple) colours using mostly acrylic and some poster paints. I have had quite a lot of experience with painting and mixing colours before so this task was quite straight-forward for me. The second stage of the task involved making tertiary colours which was slightly more challenging because it involved more mixing of paints. I made a range of burnt siennas, umber and ochre which were all slightly varying shades and tones of brown. 


The first A1 sheet included the colour wheel of 12 segments and
the 3 rows of tertiary colour experimentation using predominantly
acrylic paints and some poster.

Although it appears a very boring and mundane task, I enjoyed making the colour wheel as
 I have a strong use of colour in most of my work. I enjoyed blending the colours from
one to the other as well as learning from mistakes with the mixing technique

Following the colour wheel we experimented with tertiary colouring and contrasting colours. 

The final task incorporated what we had learned earlier in the previous tasks and the use of text. We had to make some illustrations of a piece of text in some way for instance an poem, a story or a song. However we could only use contrasting secondary colours for example blue and orange or red and green.

This blue and orange illustration was inspired by the poem 'Island Man' by Grace 
Nichols about someone caught between two cultures and longing to go back to 
paradise. I felt the warm orange tones suited this perfectly with the sun and the pale 
bluebackground contrasts it well representing the sea and sky.

This yellow and purple illustration was inspired by the sword in the stone, the purple
silhouette of the sword and the stone stand out well from its background. The dry
brushed yellow I feel is also a sign of positivity almost like a new day or sunrise.
These two colours work well together I find.

The final illustration I did was inspired by a childhood favourite of mine, 'Charlie and
the Chocolate Factory' I chose red and green for this because I felt the overlapping
of colours worked well, I used felt tip pen instead of paint for this illustration to try
something new and different. Nevertheless I feel the colour contrast still has the same
impact.

Images - Author's Own 23/11/12

GRAPHICS PATHWAY - LASER CUTTER INDUCTION & CAD

I found today's workshop task to be quite interesting being introduced to the 3D machinery in the prototyping labs. I had previously never been in there or tried out any of the tools therefore I was cautious at first. The day would mainly involve the use of the laser cutter which I have had some experience of using before in my secondary school. 

We began using Adobe Illustrator to create our 3D objects following the colour code of red (cut), blue (draw) and black (etch). I mainly used the draw function for my text and imagery because of the dark line it produces. We had an option to include something from our manifestos, maybe song lyrics or famous quotes. I opted to use a quote which I admire from Leo Burnett: 'Curiosity about life in all its aspects, I think, is still the secret of great creative people'. The outlined image of the jumping figure represents something similar to a 'leap of faith' or a visual metaphor of someone ready to immerse themselves into something and not being afraid to make mistakes, something which I value.

After fine tuning some of the minor details and selecting a good font to use, I selected the text and shapes I intended to cut or draw. I then moved onto to the prototyping lab and began cutting out my design in the laser cutter. I chose to use wood board about 5mm thick, there were some other alternative options such as using card, ceramics or even just paper. The design drew well onto the wood however the laser couldn't fully cut out the circle therefore I had to cut it again which slightly altered the precision of the circle. After the second cut I had a finished product.

Some sketching and thought processes behind the final piece. Once
I had finished the laser cutting and photographed it I changed the
filters and came up with some different appearances.

The final wood circle with the quote and outlined figure. (approx 20cm x 20cm circle)

A close up of the wood surface texture and the drawn on text.
In summary, I thought the day was a success as I had created another physical final product of which I am proud of. The design process was fairly straight-forward and I had little or no problems however using the laser cutter was slightly different and I appreciate that it takes some more experience to fully perfect the technique. This gave me a taste of potential 3D work I can do for future projects.

Images - Author's Own 20/11/13

Friday 22 November 2013

GRAPHICS PATHWAY - STUDY ZONE RESEARCH: ILLUSTRATION

On my first proper introduction to the library at Ravensbourne I was impressed by the variety of books available in my subject area. This made the day's task considerably easier. The main objective was to create Penguin inspired book cover with the Penguin logo and bar code A4 in size. We had to pick a specialism weather it be fashion promotion and illustration to film making and typography. I choose to focus on Illustration and in particular sports illustration in newspapers and other editorial pieces. At first I had no clear direction and wondered how I could make illustration interesting to me and to others as well as having a personal touch. I picked up volumes 21, 22 and 23 of '20th Century American Illustrations' which swayed me immediately. I have a passion for sport and art and thought this combination would be ideal. I was instantly struck by the wonderful illustrations from artists such as Walt Spitzmiller and Bill Dula which inspired me.


Once I had brainstormed some initial ideas, I decided to focus on the black and white illustrations and using paint to get the bold effect. Below are the back and front covers of my book cover inspired by Spitzmiller and Dula's sports illustrations . I chose the two basketball players because of the retro but yet timeless feel as well as the composition which allowed me space for a blurb. The front cover depicts a American football player whose expression I felt was very strong and highlighted the intentions of the book content with regards to freeze frames and moments in sport. I began both with a black washout of the background and then depicting the major shades in black and some other details in white to give a natural and retro feel.


I then composed the layout of the book cover, adding text and a title
'Instant Replay - An Illustrator's Perspective' which was a result of playing
around with sporting terms such as Injury Time and Slam Dunk. I applied
some colour filters and artistic effects which subtly altered its
appearance 

This is the final book cover created using an InDesign template. In the end I barely
changed the background colour, instead I increased the saturation of the originally
grey background which surprisingly produced some subtle blues and greens which I
 feel works well. I added the Penguin logos, the bar code and a spine to complete the
cover which overall I am pleased with.

Images - Author's Own 22/11/13

GRAPHICS PATHWAY - PHOTOSHOP & INDESIGN FILM POSTERS

The main aim of this particular workshop was to become more familiar and comfortable with fundamental creative software such as InDesign and Photoshop. I previously have had some experience with these programmes however I still consider myself to be at quite a basic level as there is a lot more to explore within these programmes. The brief was to create a poster for the upcoming film 'The 33' (set to be released in 2014) based on the mining accident in Chile and the subsequent rescue operation. We began the task be searching for imagery to use in the film poster, I ended up collecting at least ten potential images to use and then narrowed it down to only a couple of what I thought were the most powerful.

Following this we began to edit some the photography in Photoshop adjusting the hues, and contrast levels of the original image. I cut out, using the magic wand tool, only the parts that I wanted from the original picture, for example in the picture below, I cut out only the profile of the miner from his background. I then placed the profile on an image of the flag of Chile waving in the darkness. I then adjusting the opacity giving the transparency between miner and flag. I thought that the whole story was of a nation coming together to help the stranded miners so I wanted to find a way that showed that patriotism, togetherness and heroism under adversity. I saw this in the image of the waving flag. The shocked expression of the miner I thought was powerful as it represented the emotion of everyone throughout that time and the monotone filter contrasting with the colourful flag brought this out.


A collection of two images placed on top one another with around
 50% transparency to allow the flag to shine through. This was
what I created using only Photoshop, later this image will go on to
be used in InDesign to add the text.

The final stage took place in InDesign where I added the text to my poster. This was a longer process than I had anticipated because I couldn't decide which font worked well with the overall theme of the poster in addition I spent a lot of time playing around with the layout of the text. Once I had picked the most suitable font in my view I experimented with the weight of the text and the colour of the image.

Type, layout and colour experiments

My final film poster
Overall, I am pleased with my final outcome although I think there could be some improvements in the layout of the text and so on. I find the image of the miner and the flag works well and gives the poster a true Chilean feel, representative of the film. In conclusion an interesting task in my view that has a physical outcome of which I am happy with

Images - Author's Own 22/11/13


Sunday 17 November 2013

GRAPHICS PATHWAY - WINE LABEL (ALTERNATIVE DESIGNS)

After creating my final wine label, I decided to edit it further and see what else I could do to change its appearance whilst still making it universal. I tried using different filters, changing the contrast, brightness and saturation. Eventually I believe I came up with some good results and I particularly like how they all are subtly different but all are recognisable. The sepia toned label appears traditional and retro, the black label with white outlines I feel is very understated but still has an impact while the textured labels appear weathered and used which gives them an authentic wine label appearance. In conclusion, I am pleased with my results from this workshop day, I enjoyed practicing with ink and understanding the calligraphic style. Due to this, I feel I have been able to create a good final product.


Images - Author's Own 16/11/13

GRAPHICS PATHWAY - CALLIGRAPHY & WINE LABELS

The art of calligraphy is a very traditional and historic form of mark making and goes back many hundreds of years. It is a very challenging technique to understand and may not be to everyone's taste however I believe that it takes just a bit of patience and a reasonable amount of practice to get satisfying results. The main aim of the task was to become familiar with the art of calligraphy making our own alphabets and signage using song lyrics, poetry and our names. I also discovered that the quality of the lettering relies heavily on the quality of your brush, a perfectly flat-headed brush provides the best results other brushes I find loose some of the calligraphic qualities. Below are some examples of my calligraphic alphabets.

My first ever Calligraphic alphabet using black ink and a flat-headed brush.

Over time I became more confident with the brush and the ink
and began to start creating some alternative typefaces using the
edges and flat sides of the brush. I was also inspired by the
appearance of ancient Chinese writing mixed with some
graffiti style fonts.

After becoming familiar with the aesthetics of the brush and ink, I expanded my mark making to words and phrases from poetry to my own name, this really pushed me and at first I struggled but with time I managed to create completed phrases. I was particularly drawn to the 'Prince of Persia' title because of its calligraphic qualities therefore I decided to make a study of my own. Following this I experimented with question and exclamation marks, letters and then numbers in a different way. In addition I enjoyed experimenting with writing my name and changing around the fonts which was easily done because of the varied shape of the brush.

The 'Prince of Persia' title and some other forms of calligraphic experimentation.

Trying out different ways to write out my name using the calligraphic style of the brush which allowed me to vary the outcome.

Following this we moved on to creating wine labels in the calligraphic style. I thought about different types of wines, where they come from in relation to countries/regions and naming them. I instantly thought about french wines such as champagne. 


This is my final wine label design.

Images - Author's Own 13/11/13